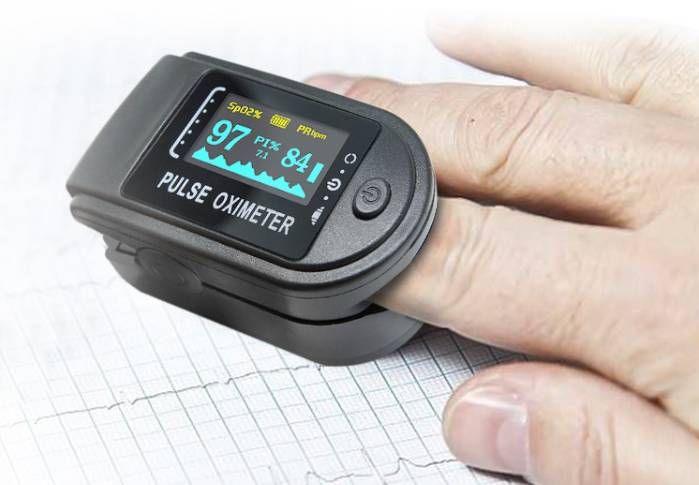
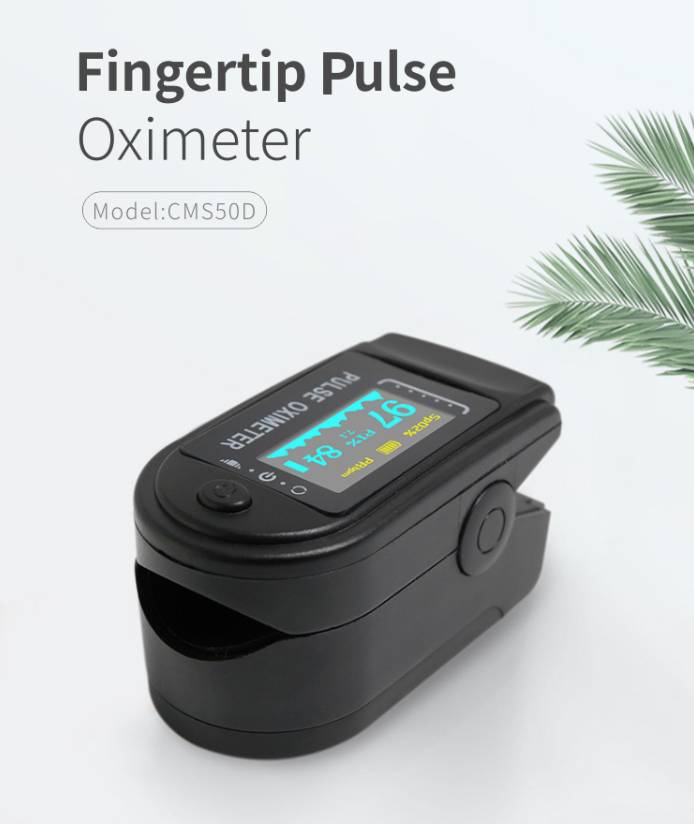
Features Of Fingertip Pulse Oximeter
- Integrated with SPO2 probe and processing display module.
- Can measure SPO2 and PR accurately
- SPO2 and PR display, PR waveform and bar graph display
- Battery voltage low indication, Color OLED Display
- Four levels adjustable brightness
- Low power consumption; shut off automatically when no signal
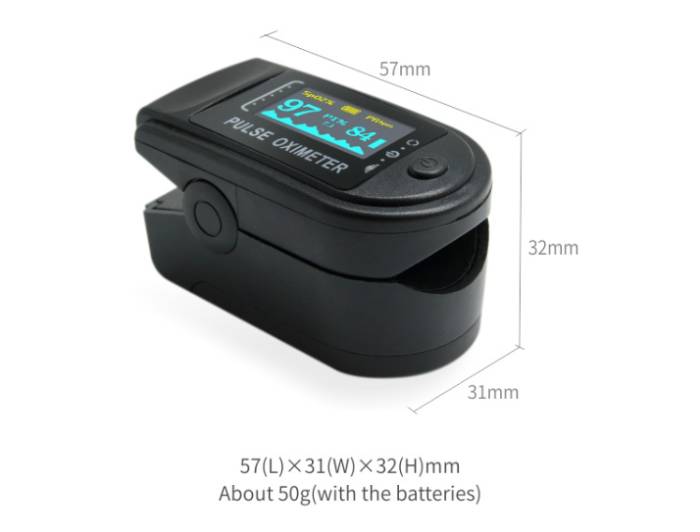
- Small volume(57(L) * 31(W) * 32(H) mm), light, convenient to carry
- Can work more than 30 hours continuously
Technical Parameters Of Fingertip Pulse Oximeter
- 1.3′ double Color OLED display, resolution 160*64
- SPO2 measuring range: 35-100%
- Pulse Ratio:30-254 BPM
- Pulse Waveform display: bar graph display
- Battery indication: OLED display
- Power: 1.5V(A A A size )Alkali Batteries*2
- Interference resistance capacity against ambient light and measurement performance at low perfusion
- Adaptable range:2.6V-3.6V
- Working current:<=25mA
- Resolution: SPO2 : 1% Pulse Rate: 1bpm
- Accuracy: (+/-)2% (70%-99%), unspecified (<70%) for SPO2, (+/-)2BPM or(+/-)2% (select larger) for pulse ratio
- Measurement at Low Perfusion: The values of SPO2 and pulse rate can be displayed properly when pulse saturation is at 0.4%.
| Package | English neutral packages |
| Unit Weight: | 0.05 kg(including box) |
| Product size: | 5.7*3.1*3.2cm |
| Gift box size: | 8.9*6.2*4cm |
| Inner pack: | blister packing,gift box |
| Carton capacity: | 100 pieces/carton |
| Carton dimensions: | 39*34*22cm |
| Master CBM: | 0.03 |
| G.W.: | 5.6 kg |
| HS Code: | 9018199000 |
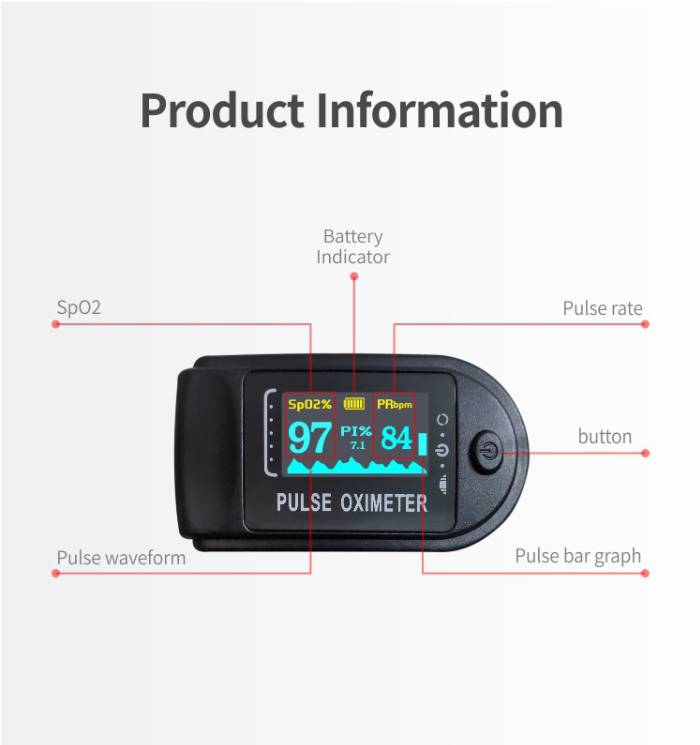
Resistance to surrounding light: Deviation is smaller than (+,-)1% between value of Oxyhemoglobin measured in natural lighting indoor condition and present lighting sources and that measured in dark room.
Automatic shutdown function:The device will power off automatically within 5 seconds when there is no finger in the device. When working,the display direction can be changed by pressing the button shortly.There are six modes of direction. During working time,long press can change the lightness of the screen.
How To Install Finger Pulse Oximeter?
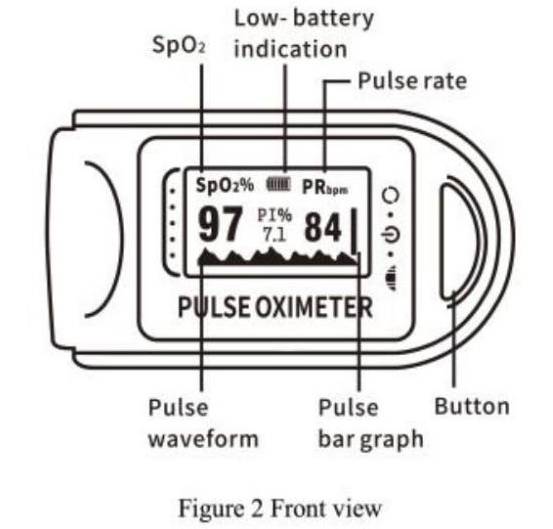
1. View of the front panel
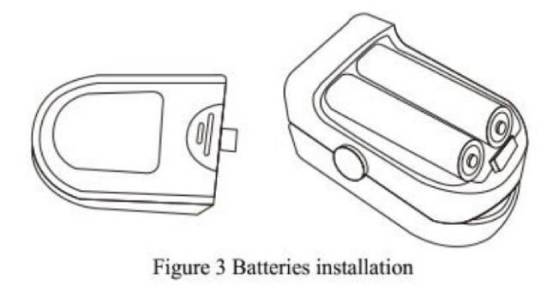
2. Battery
- Step1. Refer to figure 3. and insert the two AA size batteries properly in the right direction.
- Step2. Replace the cover.
please note: take care when you insert the batteries for the improper insertion may damage the device.
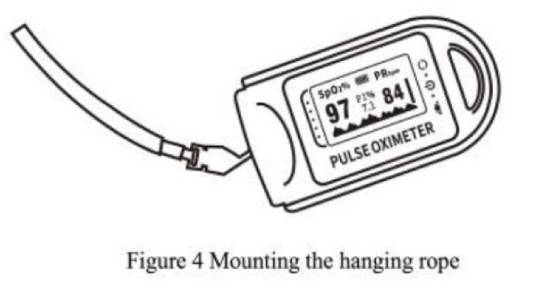
3. Mounting the Hanging Rope
- Step1. Put the end if the rope through the hole.
- Step2. Put another end of the rope through the first one and then tighten it.

